Quick and Easy Home Makeover with PU Stone Wall Panels: A DIY Guide

Quick and Easy Home Makeover with PU Stone Wall Panels: A DIY Guide
Quick and Easy Home Makeover with PU Stone Wall Panels: A DIY Guide: If you’re looking to give your home a fresh, stylish makeover without breaking the bank, PU stone wall panels might be just what you need. These panels are not only visually appealing but also incredibly easy to install, making them a perfect DIY project. In this guide, we’ll walk you through the process of transforming your space with PU stone wall panels.
What Are PU Stone Wall Panels?
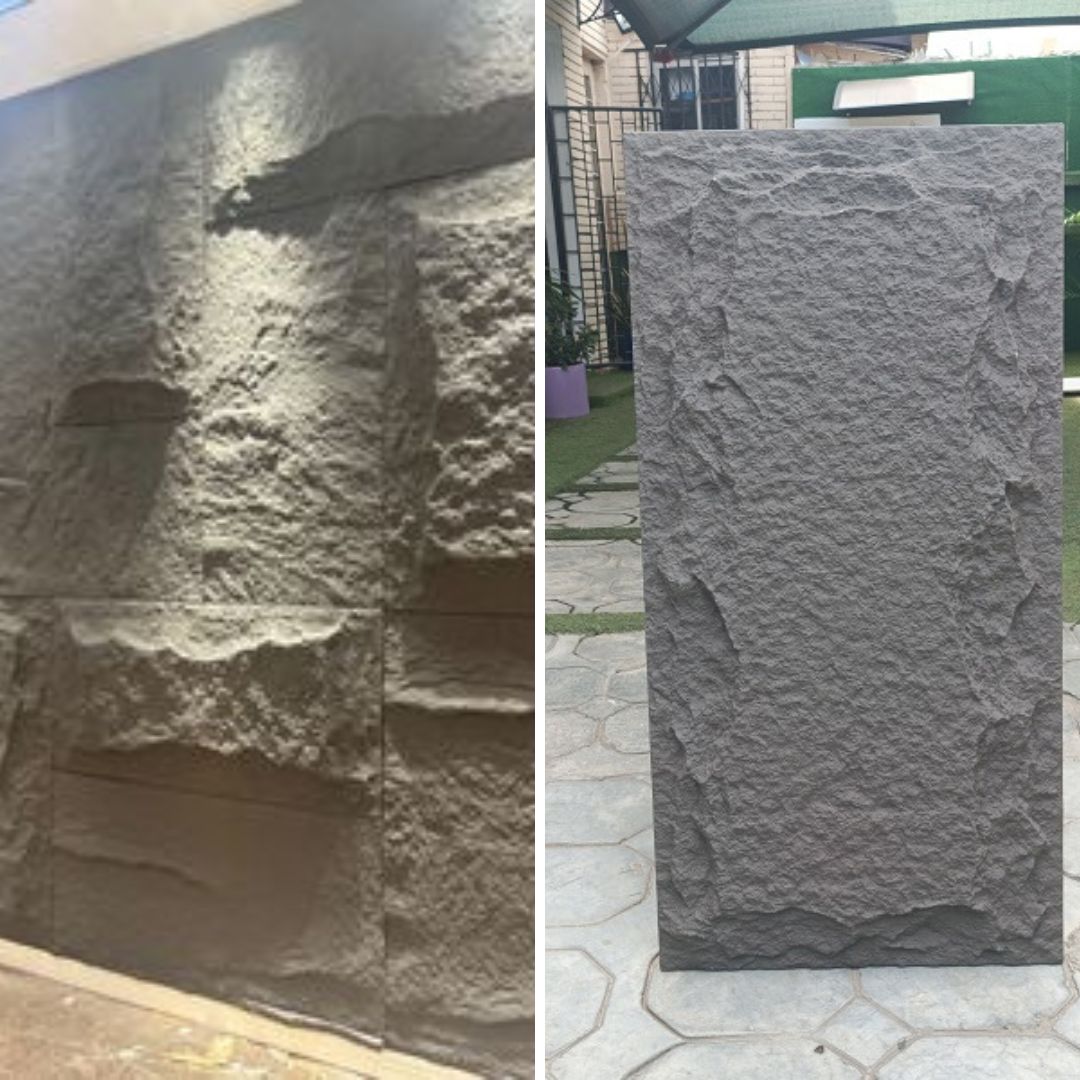
PU (polyurethane) stone divider boards are lightweight, strong boards outlined to imitate the appearance of common stone.. Unlike real stone, PU panels are easier to handle and install, making them an excellent choice for DIY enthusiasts. They come in a variety of textures, colors, and patterns, allowing you to achieve the perfect look for any room.

Why Choose PU Stone Wall Panels?
Before diving into the installation process, let’s explore why PU stone wall panels are a popular choice for home makeovers:
- Cost-Effective: Compared to natural stone, PU panels are significantly more affordable, offering a luxurious look without the hefty price tag.
- Lightweight: These panels are much lighter than real stone, making them easier to transport and install without requiring special tools or equipment.
- Easy to Install: With a simple installation process, PU stone wall panels are perfect for DIY projects, allowing you to complete your home makeover in no time.
- Durable and Low Maintenance: PU panels are resistant to moisture, heat, and wear, ensuring they look great for years with minimal upkeep.
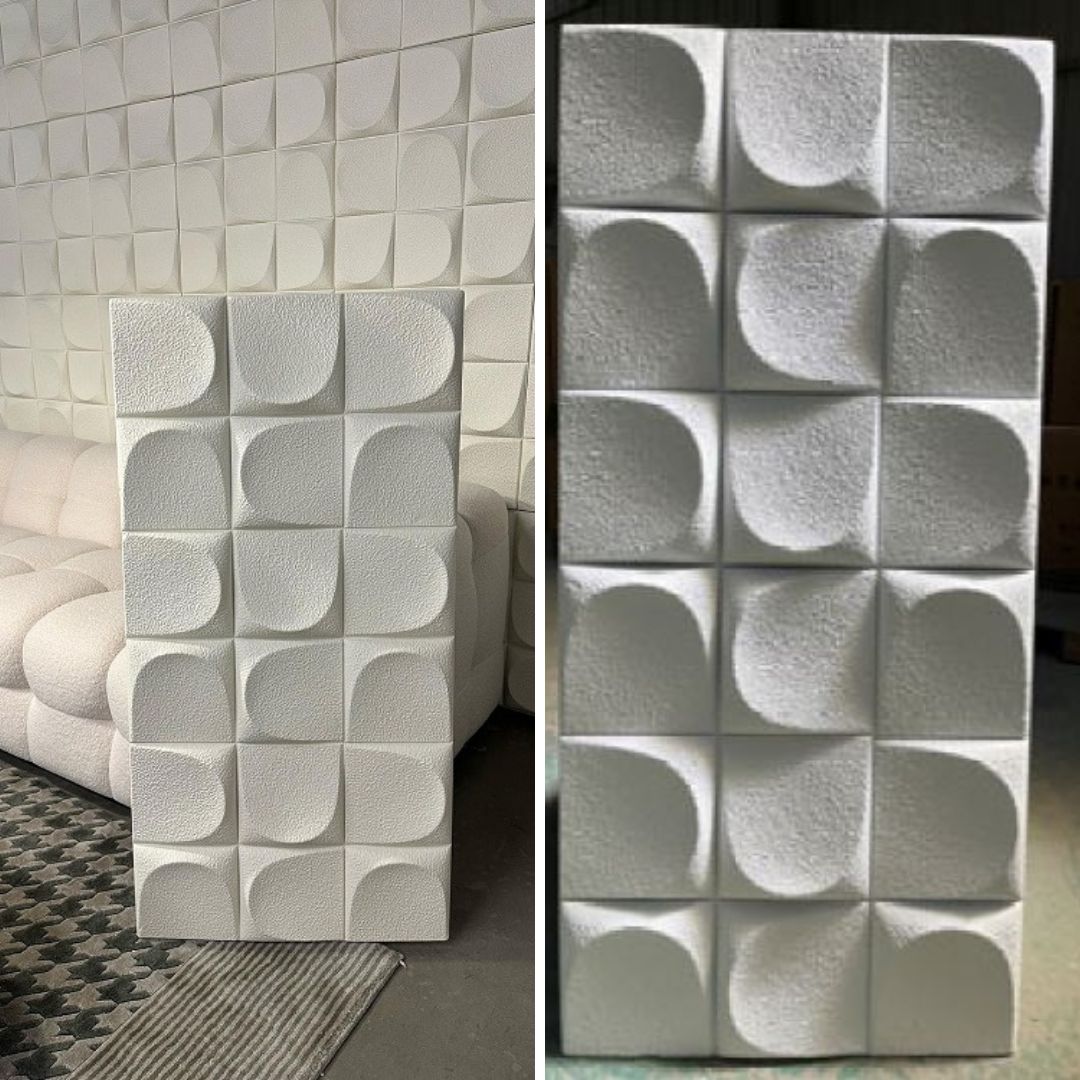
- Flexible Plan: Whether you’re going for a provincial, cutting edge, or conventional see, there’s a PU stone board plan to coordinate your tasteful.
Tools and Materials You’ll Need:
- PU stone wall panels
- Measuring tape
- Pencil and level
- Utility knife or saw
- Adhesive or construction glue
- Caulk gun (if using adhesive)
- Finishing nails or screws (optional)
- Safety gear (gloves, eye protection)

Step-by-Step Installation Guide
- Prepare the Layout begin the measurement from the area where you want to install the PU stone panels. Use a pencil and level to mark your layout on the wall, ensuring the panels will be straight and evenly spaced.
- Cut the Panels to Size Depending on your layout, you may need to cut some panels to fit around corners, windows, or doors. Use a utility knife or saw to make precise cuts, and double-check your measurements before cutting.
- Apply Adhesive Apply adhesive to the back of the first panel using a caulk gun. Be sure to apply the adhesive evenly, focusing on the edges and center of the panel. For a more secure fit, you can also use finishing nails or screws to fasten the panels to the wall.
- Place the Panels on the Wall: Carefully press the board onto the divider, beginning from one corner and working your way over. Ensure the panel is level before moving on to the next one. keep repeating the process for a good installation.
- Finishing Touches Once all panels are in place, inspect the seams and edges. Use caulk or touch-up paint to fill any gaps or imperfections. This will give your wall a polished, seamless appearance.
- Enjoy Your New Space: Step back and admire your work! Your room now has a stunning new look, thanks to the quick and easy installation of PU stone.
Tips for a Successful Installation
- Start with a Clean Surface: Ensure your wall is clean, dry, and free of any debris before you start the installation.
- Work Slowly and Carefully: Take your time to measure, cut, and place each panel precisely. Rush carefully through the process to avoid mistakes and uneven results.
- Seek Help if Needed: If you’re working on a large wall or ceiling, consider enlisting a friend or family member to help with the installation.
Conclusion
A home makeover doesn’t have to be a complicated or expensive endeavor. With PU stone, you can achieve a stunning transformation in just a few hours. Whether you’re updating a living room, bedroom, or kitchen, these panels offer a quick and easy way to bring a touch of elegance and sophistication to your home. So grab your tools, follow this DIY guide, and start transforming your space today!